How to Safely Install Floating Glass Shelves (DIY & Professional Options)
Floating glass shelves add elegance and lightness to a space—but safety, strength and correct installation are essential. Whether you’re installing DIY or hiring a pro, this guide from GlassHelp.co.uk breaks down everything you need to know to get it right.
Why Proper Installation Matters
Floating glass shelves offer a sleek, minimalist aesthetic—but that elegance comes with two critical dependencies: correct specification of the glass panel, and proper installation of the fixings. A seemingly small error such as incorrect wall anchoring or improper edge finish can lead to stress fractures, sagging, or worse—breakage.
Whether you’re fitting decorative shelves in a living room or weight-bearing display shelving in a home office, this guide will walk you through every step—from planning and measuring to mounting and maintenance—so you can choose between DIY or professional installation with confidence.
Step-by-Step Installation Guide
Step 1: Measure & Assess the Wall
Begin by measuring the wall length, height and the projected span of your glass shelf. Ensure the wall surface is solid (brick, concrete or stud with proper backing). Avoid plasterboard alone unless additional support is used. Mark the bracket positions and check for electrical wiring or plumbing behind the wall.
Step 2: Choose Fixings & Drill Mount Points
Select fixings rated for the glass thickness and expected load. For a typical 8–10 mm toughened glass shelf, choose heavy-duty wall anchors or through-bolts into masonry. Use a spirit level to confirm horizontal alignment before securing brackets.
Step 3: Install Brackets & Position the Glass
With brackets secured, gently insert the glass shelf making sure the edge finish (flat-polish or bevel) is facing out. Use safety gloves when handling. Double check that the glass sits fully on the bracket support. If necessary use silicone pads or rubber buffers to prevent micro-movement.
Step 4: Final Checks & Maintenance
Check the level again, firmly secure any clamp screws, and test by placing light items first. After 24 hours inspect for any sign of movement or sloping. Routine cleaning with a micro-fibre cloth keeps the shelf looking pristine and ensures you spot any early issues.
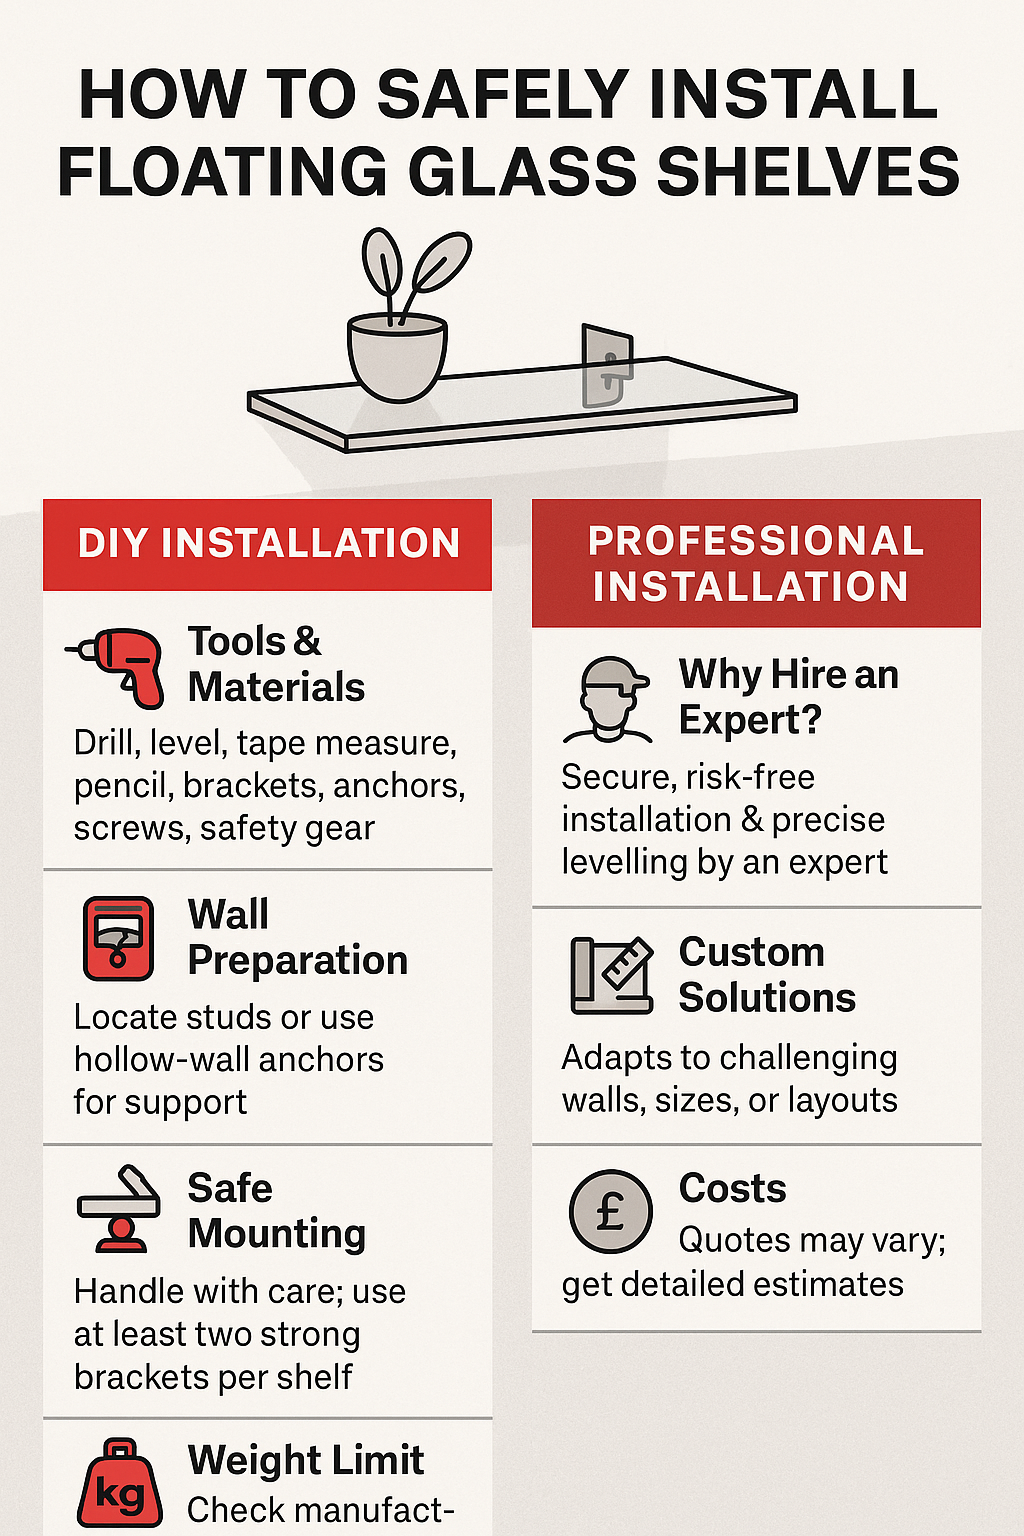
DIY or Hire a Professional?
DIY installation is perfectly feasible if you have the right tools (drill, level, anchors) and some home-improvement experience. It’s a cost-effective option for single shelves or decorative use. However, professional installation offers advantages: guaranteed fixing strength, compliance checking (especially in rental or commercial properties) and clean, fast delivery.
| Option | When It’s Best | Typical Cost/Benefit |
|---|---|---|
| DIY | One or two small shelves, you’re confident with tools | Lowest cost; must research fixings and specification |
| Professional | Multiple shelves, heavy loads, rental property, large spans | Higher cost; peace of mind and compliance verification |
If children, high traffic or heavy items are involved — professional installation is strongly recommended.
Essential Safety Checklist
- Specify toughened glass for shelves carrying weight or exposed edges.
- Match bracket/fixing rating to span and load (check manufacturer data).
- Ensure wall surface is load-bearing or appropriately reinforced.
- Use correct edge finish (flat-polish, bevel) for exposed edges.
- Re-check the level after 24 hours of use; inspect annually.
Ready to Install Your Floating Glass Shelves?
A floating glass shelf adds elegance, transparency and a modern touch—but only if it’s installed safely and correctly. Whether you tackle it yourself or enlist a pro, following the steps above ensures your investment will look great and stand the test of time.
At GlassHelp.co.uk – Custom Glass Shelves, every sheet is engineered to the correct thickness, cut with precision, and finished to your specification — so you’re ready to install with confidence.
© 2025 Glass Help Ltd – All guidance is general. Always match installation to your wall type, load requirements and local building regulations.

Leave a comment